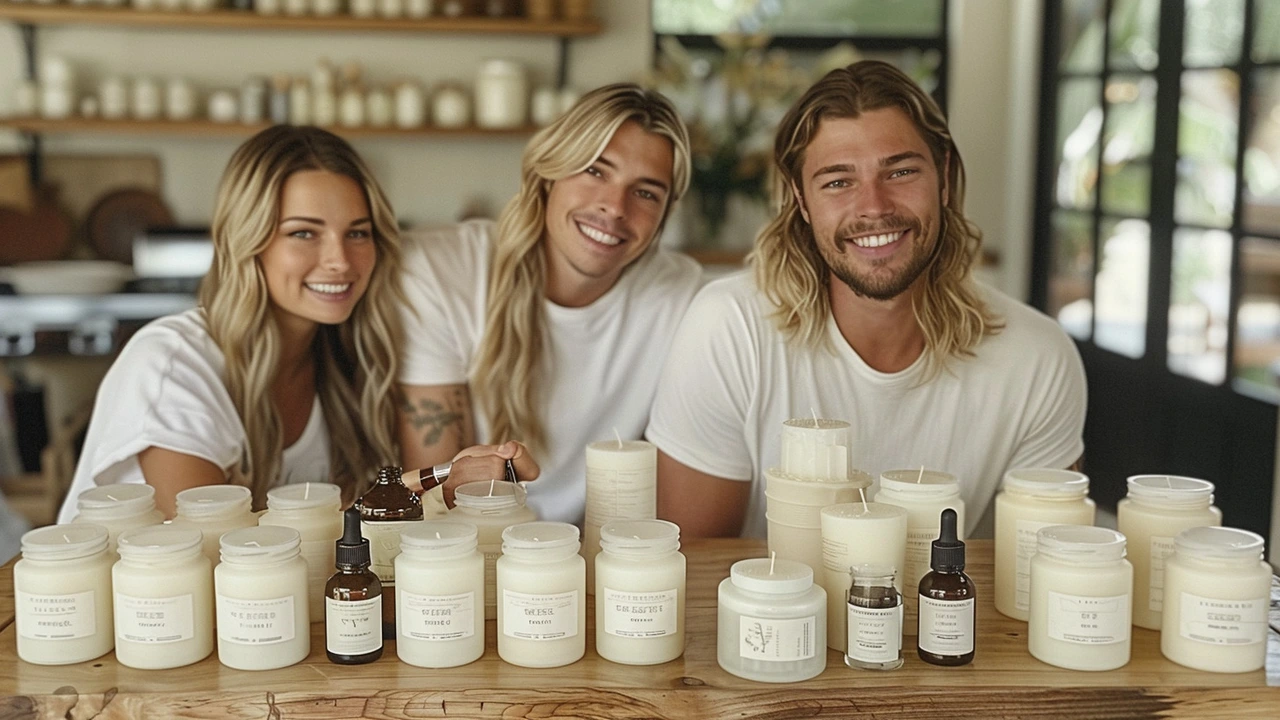
Making your own aromatherapy candles at home is a rewarding and relaxing activity that you can easily do in your kitchen. Not only do these candles provide soothing scents, but they also make for beautiful home decor.
In this guide, you'll learn everything you need to know to create your own candles, from selecting the right materials to blending essential oils for a perfect fragrance. Whether you're a seasoned crafter or a beginner, this step-by-step tutorial will help you master the art of candle-making.
Materials Needed
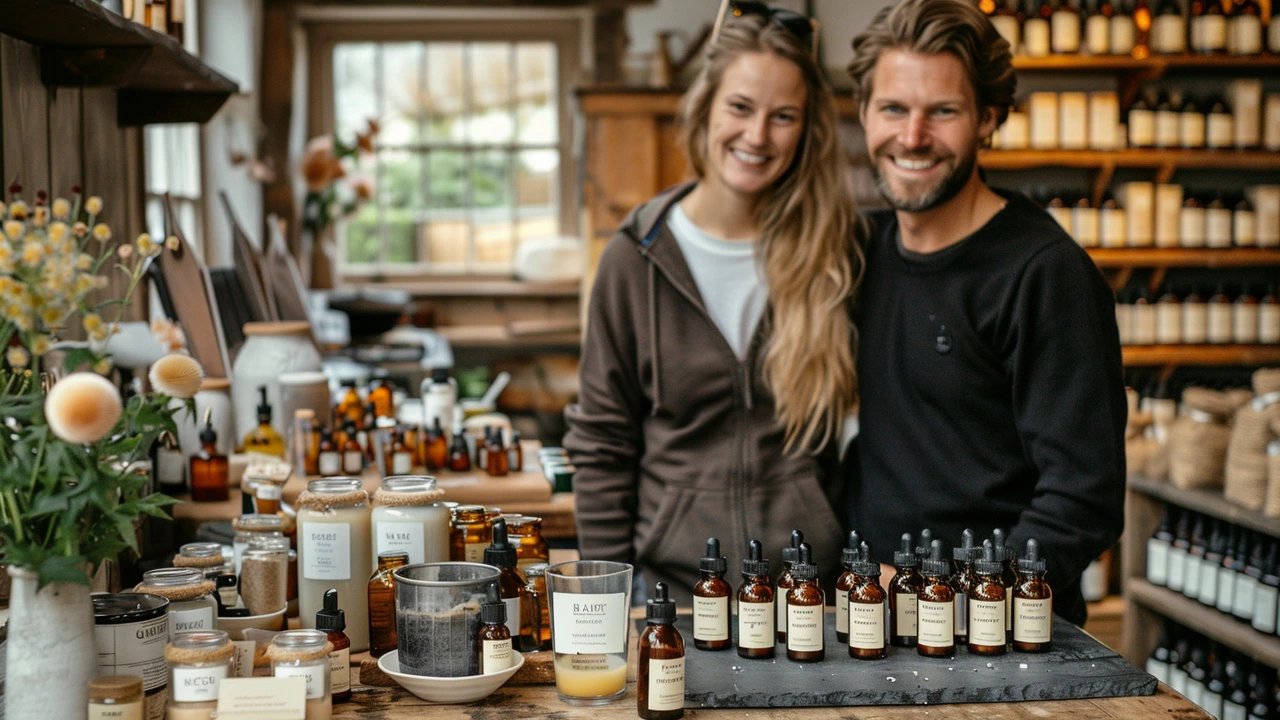
The first step to creating your own DIY aromatherapy candles is gathering the necessary materials. Each component plays an important role in ensuring your candles burn evenly and release wonderful scents. Let's dive into the list of materials you will need to get started.
You will need wax, the core of your candle. Soy wax is often recommended for beginners because it is eco-friendly and easy to work with. Beeswax is another great choice, known for its natural scent and minimal processing. Paraffin wax is widely available and often cheaper, but it is made from petroleum, so it's less eco-friendly. Consider the type of wax that suits your preferences and values.
Another key ingredient is essential oils. These oils provide the fragrance for your candles. Popular choices include lavender for relaxation, eucalyptus for invigoration, and peppermint for a fresh scent. Make sure you use high-quality, pure essential oils to ensure the best results. You can even mix oils to create your unique scent blends.
You can't make a candle without wicks. Cotton wicks are commonly used, but wood wicks are also popular as they create a soothing crackling sound when they burn. The length and thickness of your wick should match the size of your container. Too thin, and the candle won’t burn well; too thick, and the flame could be too large. Pre-tabbed wicks are convenient as they are already attached to a metal base, making them easier to anchor in the container.
Next, you will need containers. Glass jars, metal tins, and ceramic bowls are all excellent options. Make sure they are heat-resistant to prevent any accidents. Upcycling small jars, such as old jam jars, can be a great eco-friendly approach. It’s crucial to clean and dry them thoroughly before pouring in your wax.
Additional Materials
Alongside these primary materials, there are a few more items that will make your candle-making process smoother. A double boiler is essential for melting the wax. If you don’t have one, you can use a heatproof bowl set over a pot of simmering water. A thermometer helps you monitor the wax temperature, ensuring it doesn’t get too hot, which can affect the scent throw and burning time.
Wick holders or centering devices are handy tools to keep your wick straight in the container as the wax hardens. You can use chopsticks or clothes pegs in place of specialized tools, but they might not be as reliable. Stirring sticks are needed to mix the essential oils into the melted wax. Wooden or metal sticks work best since they can withstand high temperatures.
Having a few supplies like rubbing alcohol and paper towels nearby is useful for cleaning up spills. Candle dye can be used if you want to add color to your candles. Make sure you use dyes specifically made for candles to avoid any safety issues. Labeling materials might be the last on the list but don’t overlook them. Creating custom labels can add a personal touch to your homemade aromatherapy candles.
With all these materials at hand, you are now ready to embark on your candle-making journey. Remember to set up your workspace in a well-ventilated area and always prioritize safety when handling hot wax and essential oils. Your perfect aromatherapy candle is just a few steps away.
Choosing Your Scents
One of the most exciting parts of making your own DIY aromatherapy candles is choosing the scents. The right fragrance can transform your space, add a personal touch, and enhance your mood. Essential oils are the key ingredients for this step, and each oil carries unique benefits and characteristics.
Lavender is a popular choice known for its calming properties. It’s great for reducing stress and promoting relaxation, making it perfect for bedroom candles. Peppermint oil, on the other hand, offers an invigorating and refreshing aroma that can help increase focus and energy – ideal for a home office or study.
Mixing scents can create a unique and delightful fragrance profile. A combination of rosemary and lemon provides a clean, uplifting scent that can brighten any room. For a more exotic and romantic atmosphere, consider blending sandalwood and jasmine. These combinations are bound to make your aromatherapy candles more intriguing and personalized.
When you're new to making your own candles, it helps to keep a fragrance diary. Note down the various combinations you try and how you feel about them. This will help you refine your preferences over time. And remember, the quality of your essential oils matters too. Always choose therapeutic grade essential oils for the best results.
According to a study published in the journal Evidence-Based Complementary and Alternative Medicine, “Aromatherapy has been shown to have a significant positive effect on mood and anxiety levels.”
To determine the ratio of essential oils to wax, a good rule of thumb is to start with 30-70 drops of essential oil per pound of wax. This ensures a noticeable yet not overpowering scent. You can adjust this depending on your scent preference and the type of oil you're using. Some oils are more potent than others and might require fewer drops.
When blending, remember that different oil types have different evaporation rates, known as ‘top notes,’ ‘middle notes,’ and ‘base notes.’ Top notes like citrus oils evaporate quickly and are often the first scent detected. Middle notes such as lavender provide the body of the fragrance and have moderate staying power. Base notes, including oils like patchouli and sandalwood, linger the longest and create a lasting impression.
Ensuring proper storage of your essential oils is crucial for maintaining their potency. Store them in dark, glass bottles away from direct sunlight and heat. This protects the oils from degradation and keeps your candles smelling fresh long after they've been made.
Choosing and blending scents isn't just about following rules—it's about experimenting and finding what works best for you. Play around with different combinations and concentrations until you discover a mix that feels just right for your space and mood.
Step-by-Step Candle Making
Getting started with your own DIY aromatherapy candles involves a few simple yet crucial steps. The whole process is quite therapeutic and allows for a lot of personalization. Here’s a detailed guide to walk you through it.
Step 1: Preparing Your Workspace
First, find a clear, flat surface to work on and cover it with newspaper or wax paper to catch any spills. Ensure you have all your materials ready: wax, wicks, essential oils, a thermometer, containers, and a double boiler for melting the wax. Safety is key here, so have some potholders and a fire extinguisher nearby just in case.
Step 2: Melting the Wax
Use a double boiler to slowly melt the wax. Keep it on a medium temperature setting. While waiting for the wax to melt, monitor it with a thermometer to ensure it doesn’t go above 180°F. Stir occasionally to help the wax melt evenly. This process usually takes about 10-15 minutes. While waiting, enjoy the anticipation of creating something beautiful.
Step 3: Adding Color (Optional)
If you’d like to add a bit of color to your candles, now’s the time. Candle dye is ideal for this process. Add a small amount and stir until evenly distributed. Remember, a little goes a long way, especially if you create pastel shades. Adding too much can overpower the natural beauty of the wax.
Step 4: Incorporating Essential Oils
Once the wax has reached 180°F and your color is mixed, it’s time to add the essential oils. Essential oils add the aromatherapy element to your candles. Generally, use about 1 ounce of essential oil per pound of wax. Stir the mixture slowly to ensure even distribution. Scents like lavender, eucalyptus, and citrus are popular choices for relaxation and invigoration.
“Aromatherapy uses plant materials and aromatic plant oils, including essential oils, and other aroma compounds for improving psychological or physical well-being.” - National Association for Holistic Aromatherapy
Step 5: Securing the Wick
While the wax mixture cools slightly, prepare your containers by securing the wick. Use a bit of melted wax or glue to stick the metal base of the wick to the bottom of the container. Use a wick holder or pencil laid across the top of the container to keep the wick centered as you pour in the wax.
Step 6: Pouring the Wax
Carefully pour the wax into your prepared containers, leaving a bit of space at the top. Pour slowly to avoid bubbles and to ensure the wax evenly fills the container. Keep the wick centered and upright.
Step 7: Cooling and Trimming
Allow the candles to cool undisturbed for at least 4-6 hours, preferably overnight. Don’t move the containers while the wax is setting to avoid cracks and dips. Once the candles have cooled and hardened, trim the wick to about ¼ inch above the wax. Your candles are now ready to enjoy!
By following these steps, you’ll create beautiful, fragrant candles that bring a personal touch to any room. The joy of making something with your own hands is unmatched, and sharing your creations can be even more rewarding.

Safety Tips and Tricks
Creating DIY aromatherapy candles can be fun and relaxing, but it's important to keep safety in mind throughout the process. Candle making involves working with hot wax, open flames, and potentially flammable materials, so taking the proper precautions can help prevent injuries and accidents.
First and foremost, always work in a well-ventilated space. Melting wax and essential oils can release fumes that might be harmful if inhaled in large quantities. Make sure windows are open or use an exhaust fan to keep the air circulating. This simple step can greatly improve your safety and comfort.
Using a double boiler is another key safety tip. Melting wax directly on the stove can cause it to overheat and potentially catch fire. A double boiler provides a gentle, even heat that melts the wax safely without reaching dangerous temperatures. If you don’t have a double boiler, create one using a heatproof bowl placed over a pot of simmering water.
When handling hot wax, always use heat-resistant gloves to protect your hands from burns. Molten wax can cause serious burns if it comes into contact with skin. Keep a close eye on the thermometer while the wax is melting. Wax generally melts between 120°F to 180°F, depending on its type. Try to keep it right in this range to avoid accidents.
Essential oils are a wonderful addition to DIY candles, but they must be used correctly. Some essential oils can be flammable at high concentrations. Stick to recommended usage rates, typically around 6-10% of the wax weight, and always add the oils after removing the wax from the heat to prevent the oils from evaporating or overheating.
An oft-forgotten tip is to keep your workspace free from clutter. Clear away any unnecessary items that could catch fire or interfere with your candle-making process. Keep a fire extinguisher or a large bowl of water nearby just in case something does go wrong. This preparedness can make a huge difference.
“Safety doesn’t happen by accident.” — Author Unknown
When it comes to pouring the wax into your candle containers, do so slowly and steadily. Pouring too quickly can cause air bubbles to form, which may affect the candle's performance and present a fire risk. Allow the candles to cool and harden completely before moving them. This will usually take several hours, depending on the size of the candle.
Clean-up is another crucial step in safe candle making. Wax can be difficult to remove once it has hardened. It's easier to clean up any spills while the wax is still warm. Use paper towels to wipe away the excess, then follow up with soap and hot water. Be sure to properly dispose of any leftover wax and oils according to local regulations, as pouring them down the drain can cause clogs and environmental harm.
By following these candle-making safety tips, you can ensure that your DIY aromatherapy candles are a joy to make and use. Not only will these practices keep you safe, but they will also help you create high-quality candles that burn evenly and smell fantastic.